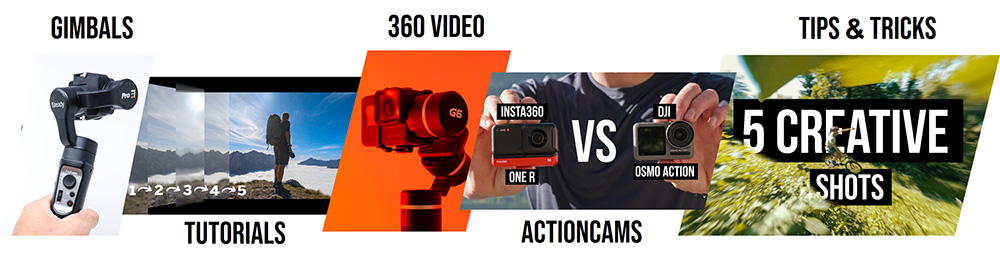
5 creative Insta360 ONE R & X2 Shots
12:47 PM In this Gimbal Guru blogpost I show you 5 amazing Shots, which you can create with your Insta360 ONE R*, Insta360 ONE X2* or any other 360 Camera.
Check out the full video on Youtube:
To create these Shots, I attached the Insta360 ONE R* to a telescope- stick. I used the Standard Video function with 5,7k and 30fps.

The first Shot is the “FPV Drone Shot”
For this Shot, move the pole stick slowly left and right. To optimize the camera movement, I used the GoPro FX Reframe Plugin in Adobe Premiere Pro. Set the zoom value as low as possible to achieve an ultra-wide-angle view. Also use the “Lens curve” parameter to make the image look more natural. Due the ultra-wide-angle view and the optical lens correction, the speed looks very fast. In the last step we had to add the dynamic movement. Therefore, I adjusted the “rotate” parameter and camera position with keyframes. It’s very important that you chance the keyframes to "continuous bezier". This ensures a smooth & “FPV like” camera movement.


The second Shot is the “Drone Orbit Shot"
For this one, you just have to swing the telescopic stick over your head. To get a 360 Video, the ONE R is adding two 180° videos together. In this process, the pole stick is removed from the video. This is the reason it looks like a drone is circling around you. The FlowState stabilization of the Insta360 ONE R locks the movement & direction, therefore the video must be reframed again. Adjust the camera angle so that it always points in the center of the image. Set some keyframes and don't forget to change them again to “continuous bezier”. And ready is the shot.


The third Shot is the “Drone Diving Shot”
This Shot is very simple. You just have to move the telescopic stick down quickly. To increase the Diving effect, the reframing Plugin in post-processing is useful again. At the beginning of the sequence, you set the camera position downwards. Set the zoom to a minimum value. Then you go to the end of the sequence and point the camera position straight forward. Also increase the zoom value. This settings increases the "Diving Effect“ significantly.
The next Shot is the „Spinning Camera Shot“
The easiest way to create this Shot, is to point the Insta360 ONE R straight ahead. In post-processing, reframing can be used to add the spinning motion. At the beginning, you set a rotation keyframe and at the end, you set another one, with 360 degrees. And you're done, it's that easy. 

The last Shot is the “Tilt up Shot”
Again point the Insta360 ONE R straight forward. With the GoPro FX Reframe Plugin you add a keyframe at the start and end of the shot. In the end make sure the camera looks up into the air. Simply but impressive!
These were my 5 tips for creative reframend videos with your 360 camera. I have linked you the Insta360 ONE R and Insta360 ONE X2, which I have used to create this video.
- Get your Insta360 ONE R here*: Insta360 ONE R
- Get your Insta360 ONE X2 here*: Insta360 ONE X2
If you liked the blogpost and video, subscribe to my Gimbal Guru Youtube Channel and look forward to more videos about 360 Cams, gimbals and video editing!
*Affiliate Links


0 comments